13 Important Image Optimization SEO Tips You Need To Know

Image optimization is the process of enhancing and refining images to strike a balance between visual quality and file size. This practice involves various image optimization tools, such as image compression, choosing the right file format, and adding relevant metadata. Optimizing images is not only about improving website speed and search engine rankings but also about providing an exceptional user experience. When visitors land on a webpage with visually appealing and fast-loading images, they are more likely to stay longer, engage with the content, and convert into customers.
Through image optimization has become an indispensable part of modern SEO strategies due to its impact on various factors. One of the most critical aspects is site speed, as search engines prioritize fast-loading sites in their rankings. Optimizing images significantly reduce page load times, making it easier for search engine crawlers to index your content quickly. Moreover, a faster website enhances user satisfaction and reduces bounce rates, which are key metrics search engines consider for ranking algorithms. By optimizing images, you also ensure that your website is more accessible to all users, including those with slower internet connections or using mobile devices.
Tip 1: Understand Lossy vs Lossless Optimization
Lossy and lossless optimization are two contrasting approaches to image compression. Lossy compression reduces image file sizes by discarding some data, leading to a reduction in quality, albeit often imperceptible to the human eye. On the other hand, lossless compression maintains image quality by removing redundant information without any visible loss, resulting in larger file sizes compared to lossy compression.
The choice between lossy and lossless compression depends on the specific requirements of each image. Use lossy compression for photographs and web graphics where slight quality loss is acceptable in exchange for substantial reductions in file size. Lossless compression is ideal for images that demand absolute fidelity, such as diagrams, icons, or images that may undergo further editing without compromising their visual integrity. By understanding when to use each type, you can strike a perfect balance between image quality and file size, optimizing your website’s overall performance.

Tip 2: Choose the Right Image File Type
The selection of the appropriate image file type depends on the image’s characteristics and intended use. JPEG (Joint Photographic Experts Group) is the go-to format for photographs and images with a wide range of colors and gradients. PNG (Portable Network Graphics) is well-suited for images that require transparency, sharp edges, or a lossless format for simple graphics. GIF (Graphics Interchange Format) is the preferred format for small, simple animations and images with limited colors. WebP is a modern format that offers superior compression and quality, making it an excellent choice for browsers that support it.
JPEG’s lossy compression delivers excellent image quality with relatively small file sizes, making it widely compatible and ideal for photographs. However, it may not be suitable for images with transparency. PNG’s lossless compression retains high-quality images and supports transparency, making it perfect for logos and graphics.
Nonetheless, PNG images tend to be larger than JPEG images. GIF’s support for animation and transparency makes it suitable for simple graphics and animations, but it is limited in color range and not recommended for photographs. WebP’s impressive compression capabilities and high-quality output make it an optimal choice for modern browsers that support it, though it may not be compatible with older browsers.
Tip 3: Compress Images
Image compression is a critical aspect of image optimization as it significantly reduces file sizes, resulting in faster page load times and improved website performance. By compressing images, you not only provide a better user experience but also conserve server resources and reduce bandwidth consumption.
To achieve effective compression without compromising the image’s quality, consider using modern compression tools like Imagify, which utilize intelligent algorithms to identify and remove redundant data. These tools strike a balance between image size reduction and retaining image sharpness and detail. Additionally, optimize compression settings based on the image type and its intended use, ensuring that you find the optimal compromise between image file size and quality.
Finding the right balance between compression quality and size is crucial. Over-compressing an image can lead to visible artifacts and degradation in image quality, while under-compressing may result in large image files. Regularly test and adjust compression settings to ensure that your images maintain their visual appeal while contributing to a faster page speed. Regularly test and adjust compression settings to ensure that your images maintain their visual appeal while contributing to a faster web page.

Tip 4: Choose the Right Image Format
Understanding the distinct features and uses of various image formats can help you make informed decisions when choosing the appropriate format for each image. JPEG files are the best image format, suiting photographs and images with many colors. PNG excels in preserving image quality and supporting transparency, making it ideal for logos and images with sharp edges. GIF’s ability to support simple animations makes it suitable for short clips or graphics with limited colors. WebP is a modern format that combines the best of both worlds, offering high-quality images with superior compression ratios.
To select the ideal format for your images, assess the nature of your content and its intended use. For high-resolution photographs, JPEG is often the best choice due to its efficient compression and broad compatibility. PNG files should be considered when image transparency or lossless quality is crucial, such as for icons or logos. GIF is ideal for small animations or graphics with a limited color palette. If WebP is supported by your target audience’s browsers, it provides an excellent compromise between quality and size.

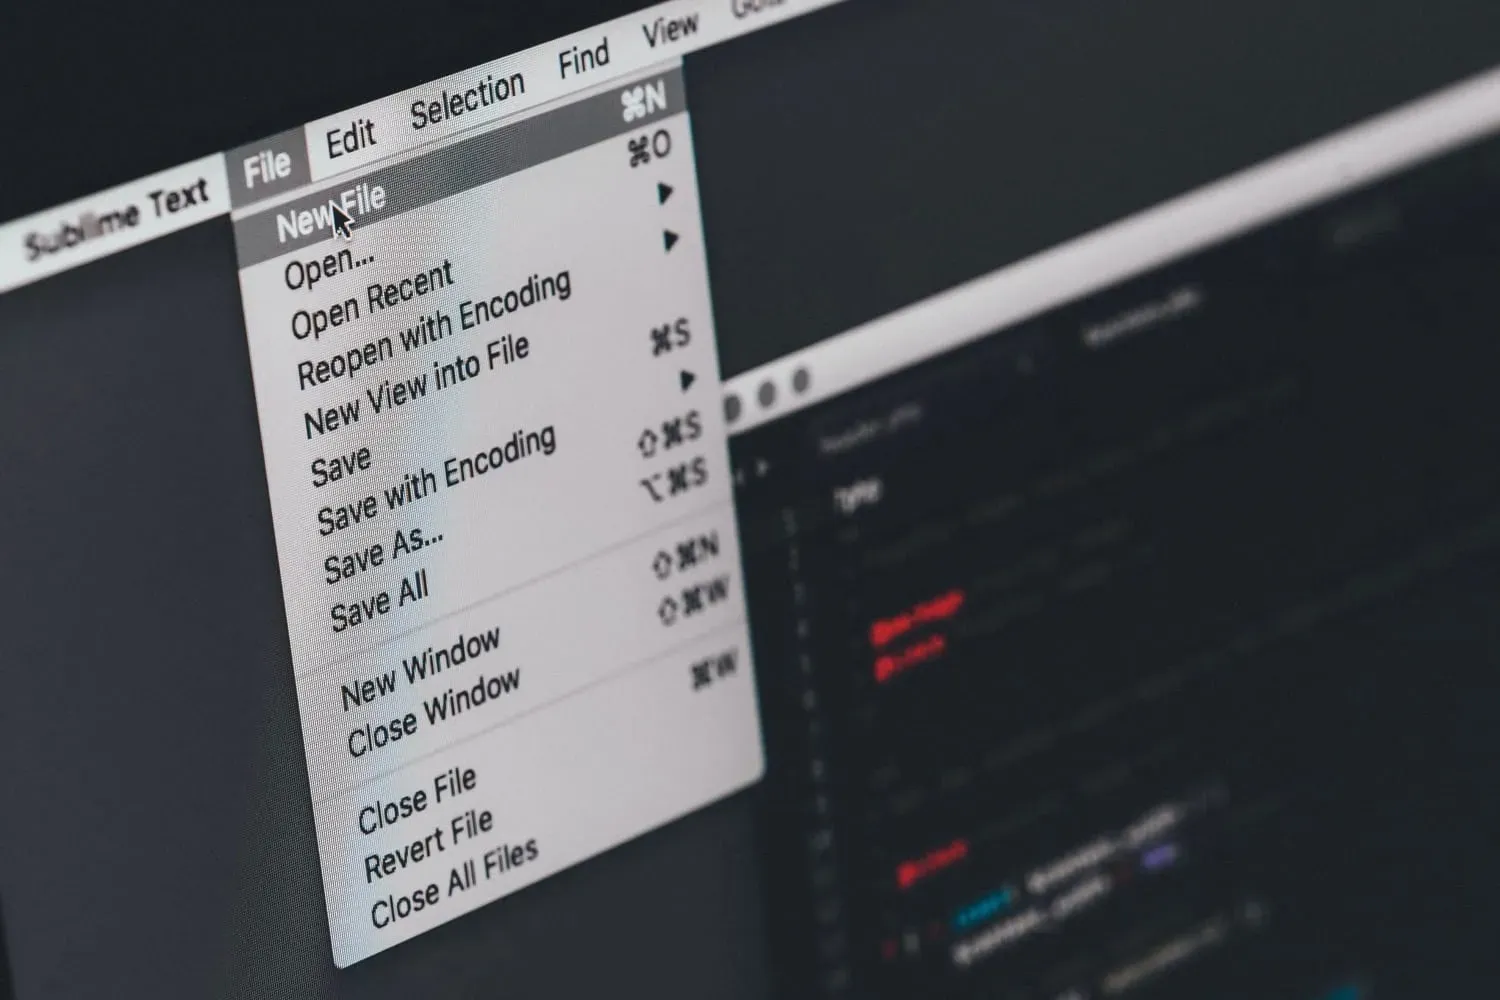
Tip 5: Optimize Image File Names
Optimizing image file names is a crucial yet often overlooked aspect of SEO. File names provide context to both users and search engines about the image’s content and relevance to the surrounding text. When search engines index your images, they consider the file names as part of the image’s metadata, which can positively impact your ranking in image search results.
Craft descriptive and keyword-rich image file names that accurately depict the image’s content. Incorporate relevant keywords that reflect the image’s purpose and context within your webpage. For example, if your webpage is about “healthy smoothie recipes,” a suitable image file name could be “refreshing-summer-fruit-smoothie.jpg.” Furthermore, include alt attributes or image descriptions that provide alternative text for screen readers and search engines. These descriptions should be concise, informative, and directly related to the image, reinforcing its relevance to your content.

Tip 6: Choose Your Image Dimensions and Product Angles Wisely
The dimensions and angles of your images significantly impact user engagement, user experience, and overall image SEO. Correctly sized images ensure faster load times and better mobile performance, while showcasing different product angles can influence purchase decisions and user trust.
Resize images to match the exact dimensions required by your website’s layout, avoiding the use of oversized images that can unnecessarily slow down your pages. For e-commerce websites, displaying multiple angles and close-up shots of products can provide potential customers with a comprehensive view of the item, increasing their confidence in the product’s quality and features.

Tip 7: Optimize Your Alt Attributes Carefully
Alt attributes, or alt text, are essential for accessibility, as they provide a textual description of images for visually impaired users who use screen readers. From an SEO perspective, alt attributes serve as an opportunity to include relevant keywords that enhance the image’s context for search engine crawlers.
When writing alt attributes, focus on accurately describing the image’s content rather than solely incorporating keywords. Avoid keyword stuffing and use natural language to ensure that the alt text is informative and user-friendly. For example, instead of simply using “blue dress” as alt text, opt for “elegant blue summer dress with floral patterns” to provide a more comprehensive and descriptive alternative for visually impaired users.

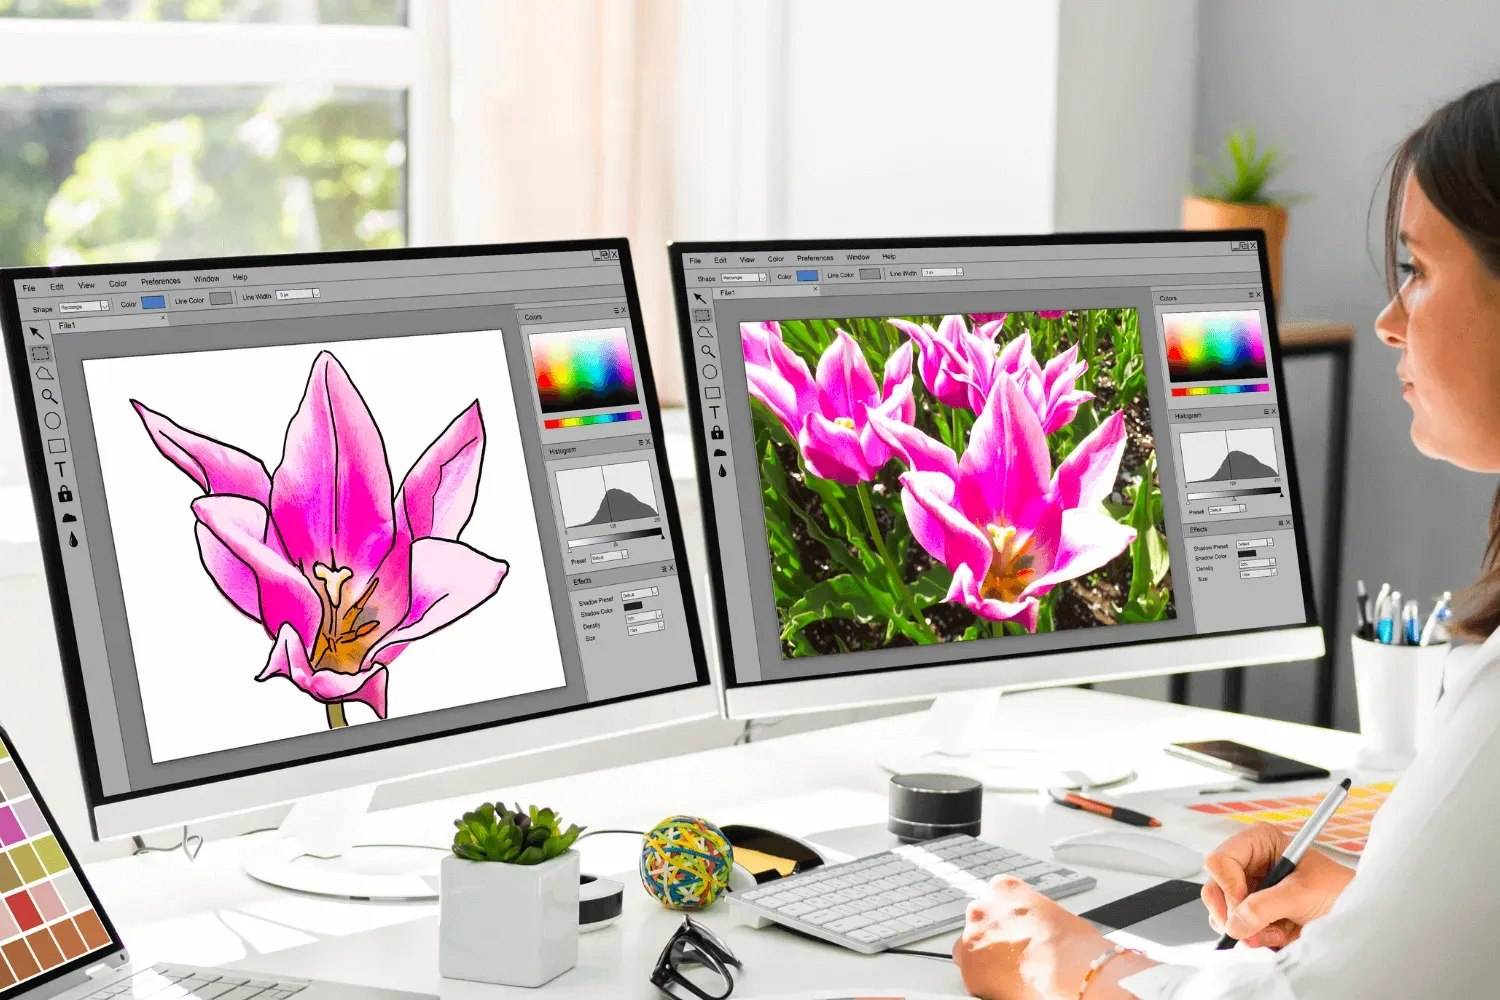
Tip 8: Create Unique Images
Unique images play a vital role in distinguishing your brand and content from competitors in the vast digital landscape. Original visuals can significantly impact user engagement, foster brand recognition, and encourage social sharing, which can boost your website’s visibility and SEO performance.
To create unique images, consider investing in professional photography or graphic design services. Tailor your visuals to match your brand’s style and personality, reinforcing your brand identity. Infographics and custom illustrations are excellent ways to present information in a visually appealing and unique manner, enhancing your content’s shareability and viral potential.
Tip 9: Resize Images to Scale
Image scaling ensures that images display consistently across different devices and screen sizes. When images are appropriately scaled, they load faster and fit seamlessly into your webpage’s layout, creating a more pleasant and cohesive user experience.
Use image editing tools or content management systems that offer built-in image resizing functionalities to scale images proportionally. Maintain the original aspect ratio to avoid distorting the image and compromising its visual appeal. For responsive websites, utilize CSS media queries to display different image sizes based on the user’s device, further optimizing the viewing experience.

Tip 10: Beware of Decorative Images
While decorative images can enhance visual appeal and aesthetics, overusing them may negatively impact website performance and user experience. Decorative images that do not contribute meaningful content can lead to longer page load times and confuse search engines, potentially affecting your SEO efforts.
Exercise caution when incorporating decorative images into your content. Only include images that add value, enhance the user experience, or effectively convey information. When using decorative images, ensure they complement your content and align with your overall branding, avoiding generic stock images that lack relevance and originality.

Tip 11: Ensure Images Are Mobile-Friendly
With mobile devices accounting for a significant portion of internet traffic, it is crucial to optimize images for mobile users. Mobile-friendly images contribute to faster load times, reduced data usage, and a seamless browsing experience on various devices.
Implement responsive design techniques that adjust images dynamically based on the user’s screen size and device orientation. Use the “srcset” attribute for images to specify multiple image sources with different resolutions, allowing the browser to choose the most appropriate version based on the user’s device. Additionally, leverage lazy loading to defer the loading of off-screen images until they become visible, further improving the mobile user experience.

Tip 12: Use Image Sitemaps
An image sitemap is a specific type of sitemap that provides search engines with valuable metadata about the images on your website. By creating and submitting an image sitemap, you increase the chances of search engines discovering and indexing your images more effectively.
To create an image sitemap, list the URLs of all your images along with relevant image metadata, such as captions and titles. Verify your image sitemap using Google Search Console or other webmaster tools and submit it to the major search engines. Regularly update your image sitemap whenever you add or remove images from your website to ensure that search engines are always up to date with your latest content.
To further enhance image discovery, ensure that all relevant images are included in the sitemap. Optimize image URLs with descriptive and relevant keywords to improve their visibility in search results. Properly categorize your images and group them accordingly within your sitemap to provide a more organized and structured representation of your visual content.

Tip 13: Use Caution When Using Content Delivery Networks (CDNs)
Content Delivery Networks (CDNs) can significantly improve web page speed and performance by distributing images and other content from servers located closer to the user’s geographic location. By reducing latency and the distance data needs to travel, CDNs can deliver faster load times for users worldwide.
While CDNs offer substantial benefits in terms of site speed, they may introduce risks if not implemented and configured correctly. Improper CDN settings can lead to cache issues, such as displaying outdated images to users, and cause discrepancies between images served on different devices. To mitigate these risks, carefully configure your CDN settings, monitor cache behavior, and regularly update your image content to ensure accurate and up-to-date image delivery.
Image optimization is a multifaceted process that involves understanding different compression techniques, choosing the right file formats, and effectively managing image attributes. By optimizing image file names, dimensions, and angles, you can enhance your website’s overall performance and SEO rankings.
Effective image optimization leads to a multitude of benefits, including improved website speed, higher search engine rankings, and enhanced user experience. By providing visually appealing and fast-loading images, you can engage and retain your visitors to your web pages, leading to higher conversions and business growth.
Our Recommended Image Optimization Tool: Imagify
Our recommended image optimization tool is Imagify, an advanced compression tool that strikes the perfect balance between image quality and file size reduction. With its user-friendly interface and cloud-based solution, Imagify seamlessly integrates with your website to optimize images effortlessly. By using Imagify, you can significantly improve your website’s performance, enhance SEO rankings, and provide an exceptional user experience.
Frequently Asked Questions (FAQs)
What is image optimization?
Image optimization refers to the process of enhancing and refining images to improve their performance, quality, and relevance for web-based applications. It involves various techniques such as compression, choosing the right file format, and optimizing image attributes like file names and alt text. The goal of image optimization is to strike a balance between visual quality and file size, ultimately leading to faster loading times, better user experience, and improved search engine rankings.
What is an example of image optimization?
An example of image optimization would be compressing and resizing a high-resolution photograph for a website. Let’s say a website owner wants to showcase a stunning landscape photograph on their homepage. The original image, in its raw form, might have a large file size due to its high resolution. To optimize it, they can use image compression tools like Imagify to reduce the file size while retaining visual quality. Additionally, they might resize the image to the exact dimensions required for their website’s layout, ensuring it loads quickly without pixelation or distortion. By optimizing the image, the website can deliver a visually appealing experience to users without sacrificing page load speed.
How do I optimize a JPEG?
To optimize a JPEG format, follow these steps:
- Choose the Right Image Editing ToolUse a reliable image editing tool like Adobe Photoshop, GIMP, or online services like TinyPNG or Imagify. - Adjust Compression Settings In your chosen image editing tool, navigate to the “Save As” or “Export” option and select JPEG as the output format. Use the compression settings to adjust the quality and file size. Experiment to find the right balance between quality and size. - Resize the Image If needed, resize the image to the appropriate dimensions for your website. Maintain the original aspect ratio to avoid distortion. - Save the Optimized Image Save the optimized JPEG with a descriptive file name relevant to the image content or context. - Test the Optimized Image Compare the optimized JPEG with the original to ensure acceptable visual quality and effective file size reduction.
Jeremy Johnson
Owner
Jeremy co-owns Robben Media and directs strategy for every client engagement. With a Computer Engineering degree from Missouri S&T, he brings deep technical expertise in web development, SEO, and automation. Before acquiring Robben Media in 2023, Jeremy led marketing and branch management in the mortgage industry. He believes marketing should be measured by revenue generated, not impressions reported.